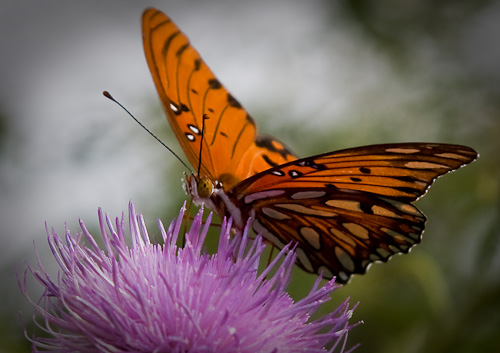
A Guide to Getting Great Wildflower Photos
Step #1 – Go outside
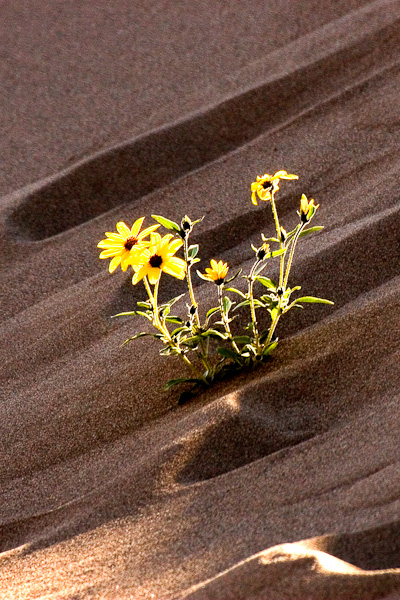
Wildflowers are just about everywhere, all you need to do is go out and look. You can find wildflowers in the dessert, high alpine tundra, forests, swamps, mountains, grasslands and just about any other terrain. Wildflowers will begin blooming in early spring (that’s how we know it’s spring) and continue until a good hard freeze. These are not the same flowers all season long, the flowers you shoot today may not bloom again until next year, but another will follow in it’s place making the same place a new place to shoot every time you visit.
Two Methods to Shoot Wildflowers
Portrait or Landscape?
No I don’t mean the orientation of the photo, but rather the type of flower photograph you wish to make. A wildflower portrait is very much like a portrait of a person and uses the same photographic principles. A wildflower landscape is like other landscape photos only the foreground is flowers.
Method #1 Portrait
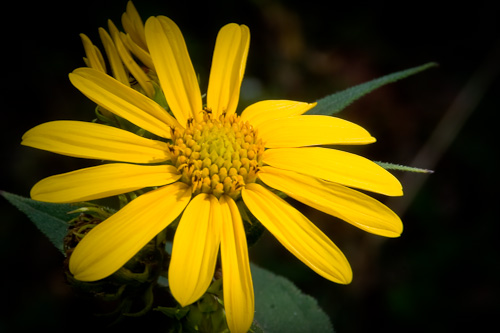
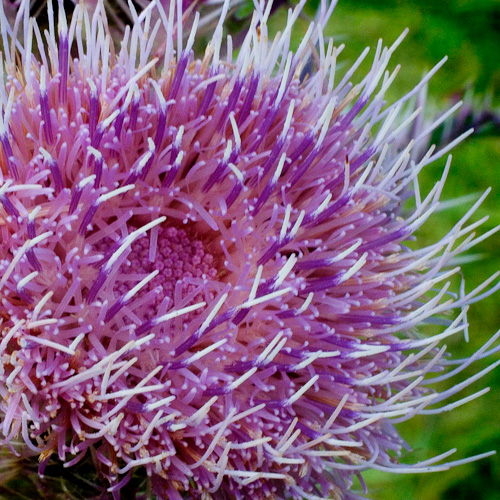
For a wildflower portrait you want to get up close and personal, take close-ups of a single bloom or small group of flowers. Use a macro lens, zoom lens with macro setting, extension tubes, or close-up lenses (diopters).
Method #2 Landscape
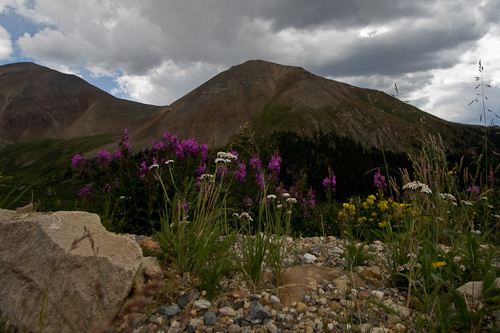
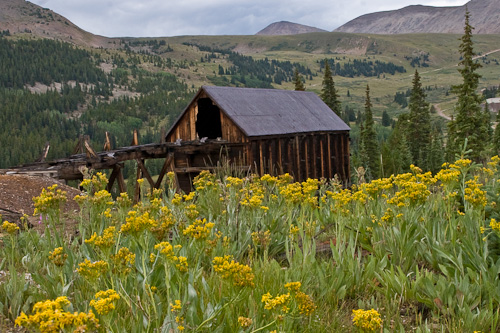
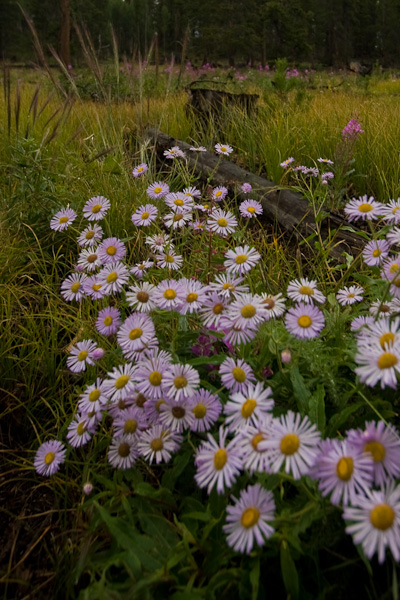
Position a field of flowers in the foreground with a great landscape in the background, using a wide angle lens and great depth of field.
Equipment
Tripod or camera support
Many times when shooting wildflowers the lighting will be low, such as shooting during the early morning or late evening (the golden hour) or in the shade of the forest. Also when shooting very close flower portraits you need a small aperture and you will need a tripod or other support to keep the camera perfectly still during the exposure. You will want a tripod that you can adjust to get very close to the ground. A beanbag can also make an excellent support for flower photography.
Macro or close-up lens
Shooting flowers is almost always close-up or macro photography and as such needs special equipment. A true macro lens is probably the best choice for true macro shots of flowers. There are less expensive alternatives that work very well. An extension tube is a simple barrel that inserts between the camera and the lens to decrease the minimum focusing distance of the lens. A close up lens (sometimes called a close-up filter) or diopter, is basically a magnifying glass that screws onto the front of the lens like a filter. If you get a high quality two element from Canon or Nikon (the brand does not matter, only the threat size to fit your lens) they will work very well the cheaper ones will soften the picture.
Diffuser
A diffuser can be an elaborate piece of equipment made for photography and having clamps, frames, and materials of all types or can be a simple homemade device consisting of nothing more than a piece of fabric and a couple of sticks. The main idea is to filter or defuse the light coming through it. A diffuser softens the contrast between light and dark areas allowing the camera to capture the full tonal range.
Reflector
A reflector is used to bounce light onto the dark or shady side of the flower. Photo reflectors that fold up nice and neat for storage and then pop open are great for use in the field, however a piece of white mat board will work just fine. Once you try this you will be amazed how much difference this simple technique can make in the quality of your photos.
Lighting
Controlling the lighting for a flower portrait is much like lighting a portrait of a person in the studio, the difference being that we are not in a studio. We can however use many of the same techniques in the field with a few simple tools.
Overcast days are great for shooting wildflowers, the overcast sky acts like a huge soft box making a soft even light source. A light drizzle will add small drops of water to the flowers which is a great effect.
The “Golden Hour” hour is great for shooting flower landscapes. The light is diffused by traveling through the atmosphere and is a low angle to provide side lighting and is a nice warm color.
If you have to shoot in direct sunlight or on a bright day using a “Diffuser” will work the same as using a studio strobe through an umbrella or soft box. special diffusers can be purchased for this purpose, but all you really need is a piece of translucent white fabric an a means to hold it.
A “Reflector” is used to reflect sunlight into the shadows to create a more even light. This can simple be a piece of white mat board or one of many commercially available photography reflectors
Using a “Flash” to fill in the shadows and light the flowers is another good way to control the light. If at all possible get the flash off the camera by using a flash cable or wireless flash controller. Using a diffuser and setting the flash for about 1/3 to 1 stop under exposed will make it not look like a flash photo.
Depth of Field
One of the primary concerns with shooting wildflower photos is the “Depth of Field” We are either trying to increase the depth of field, as in our landscape shots where we want all the flowers and the background in focus. Or we are wanting to decrease the focus to eliminate distracting backgrounds and isolate our prime flower in a portrait.
Using a small aperture of f/16 or f/22 will give a much larger depth of field, using a large aperture such as f/2.8 or f/4 will give a shallow depth of field. Using a long focal length lens will also tend to blur the background and a wide angle lens will help to make everything in the photo in focus.
Wind
If you are shooting a sea of Wildflowers and want the tops swaying in the wind with an artistic blur effect, wind is great.
In all other cases it is one of the biggest obstacles in wildflower photography.
Use of a windbreak or clamp can help and if you will wait and watch you can almost always find a break in the wind to get the shot. Shooting with digital you can also fire a burst when that break comes increasing your chance of a sharp image.
Post Processing
Shooting with digital we have the ability to greatly improve our images after we have clicked the shutter. I recommend shooting in RAW if you have the abilty and then processing the file on your computer. With a RAW file you have much greater ability to fix an enhance an image. Things such a white balance, exposure, and color corrections can be easily made while still maintaing your original with no loss.
With todays technogly we can shoot multiple exposures and combine them in a single image to make panoramic prints, HDR (High Dynamic Range) a method of getting more than the 5 stops that the camera can capture, and even combining multiple shots with different areas in focus to get a greate depth of field.
Tips for Good Wildflower Photos
Find a great specimen, shooting great wildflower photos is just like shooting a “Sports Illustrated Swimsuit Model” not just anyone in a swimsuit will do, you have to start with a fabulous model.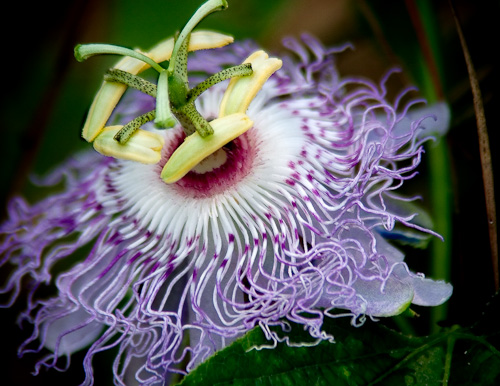
Look for flowers that have something extra. For example, a skunk cabbage with its’ mirror reflection would be an extra touch that would make an ordinary photo special. Natural raindrops or dew on flowers also provides that special touch.
Occasionally you can photograph flowers with butterflies perched on them. That is always a nice bonus.
Photograph flowers like you really love them.
Cloudy days are great for flower close-ups. If it is extremely cloudy you may have to use a little fill from a reflector or flash. During mid-day if you have to shoot, try using a polarizer on the lens. Use the filter only at a 90 degree angle from the sun.
Wait until sunset to shoot large fields of flowers, the light is golden and will render your subject much better than the harsh light of the day.
Fill your frame! It’s okay to not have the entire flower in photo. Just like shooting a portrait of a person, all we need is a head and shoulder, not a full length body shot.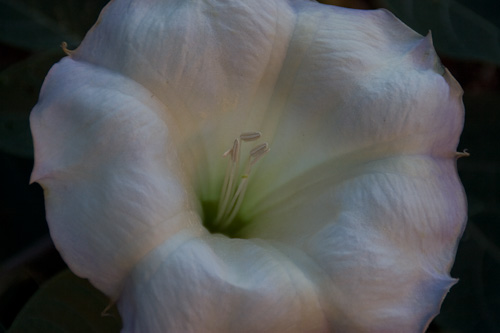
Shoot from a low level, just as you shoot at portrait on the same level as the subject (you don’t shoot down on the top of the head) flowers should be shot with the camera at the same level as the flower.
Reasons for poor wildflower pictures
The wildflower is a poor specimen. Flowers that have been chewed by bugs, injured by frost, covered by road dust, or whitewashed with bird dew do not work.
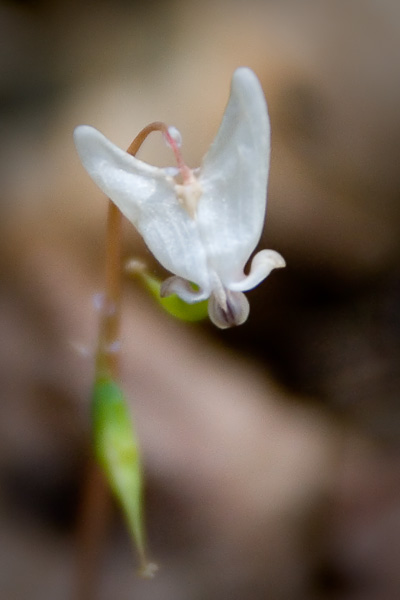
The wildflower isn’t in peak condition. Many flowers like Passion Flower and Dutchman’s Breeches only look good for a day or two before they start to wilt or bugs get to them. Other flowers may look good for several days.
The light is bad. Bright sunshine creates very high contrast light leading to burned out highlights and blocked shadows. Slide film and digital accentuates this problem. Generally, softer light works better on flowers. In the desert where bright sun is the rule, diffusion cloths and reflectors are almost always necessary to create wonderful photogenic light on the flower.
Distracting backgrounds caused by using short focal length lenses is a universal problem. Using lenses in the 200mm focal length with its narrow angle of view and careful use of depth of field will minimize this problem.
Too many flowers are bull-eyed in the frame. Dead center compositions usually don’t work well. Keep the flower out of the center and work with the flow.
The flower should be sharp. Wind is a real and almost constant problem. Shoot only when the flower isn’t moving. It you want to take blurry flower photos, then really make them blurry by using slow shutter speeds and fire when the wind is blowing the flower around greatly.
Taking wildflower photos in direct overhead sunlight or in dapples shade from the sun coming through trees
