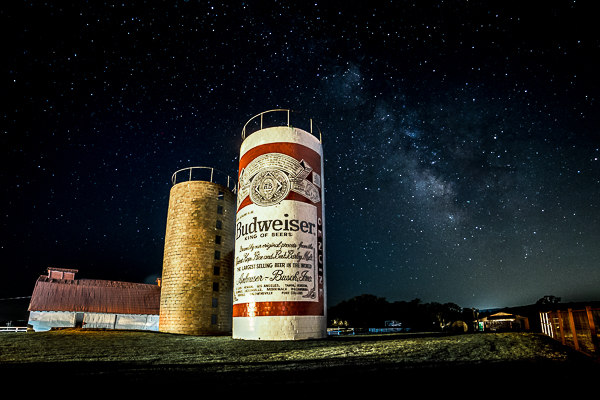
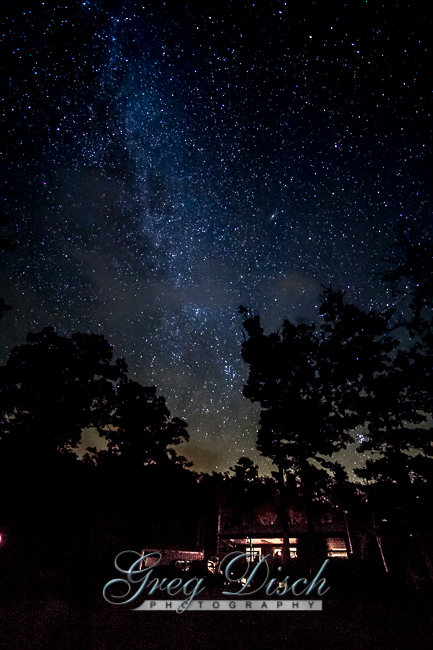
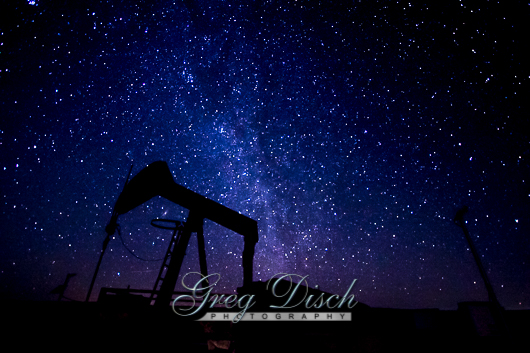
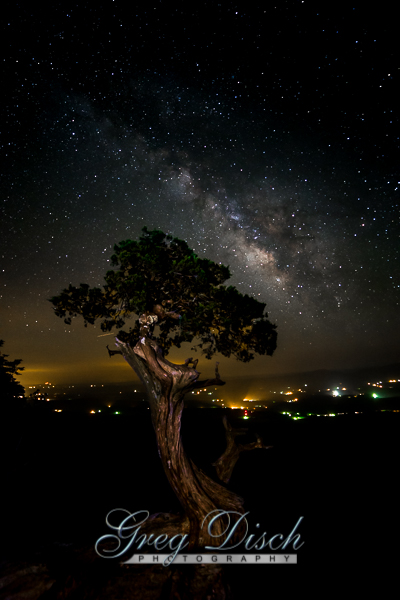
Photographing the Milky Way is something we can do with most modern DSLR cameras that was very difficult or nearly impossible with film. In this article I will teach the steps necessary to make spectacular photos of the Milky Way. When we photograph the Milky Way we actually get images that have more detail than we can see with the naked eye. This is because we are able to capture the light over a longer time, building the amount of light the camera sensor is able to capture.
About the Milky Way
The Milky Way is the galaxy that contains our Solar System. Its name “milky” is derived from its appearance as a dim glowing band arching across the night sky whose individual stars cannot be distinguished by the naked eye. From Earth the Milky Way appears as a band because its disk-shaped structure is viewed from within. Galileo Galilei first resolved the band of light into individual stars with his telescope in 1610. Until the early 1920s most astronomers thought that the Milky Way contained all the stars in the Universe.
The “Milky Way” can be seen as a hazy band of white light some 30 degrees wide arcing across the sky. Although all the individual naked-eye stars in the entire sky are part of the Milky Way, the light in this band originates from the accumulation of unresolved stars and other material located in the direction of the galactic plane. Dark regions within the band, such as the Great Rift and the Coalsack, are areas where light from distant stars is blocked by interstellar dust. The area of the sky obscured by the Milky Way is called the Zone of Avoidance.
The Milky Way has a relatively low surface brightness. Its visibility can be greatly reduced by background light such as light pollution or stray light from the Moon. This makes the Milky Way difficult to see from any brightly lit urban or suburban location, but very prominent when viewed from a rural area when the Moon is below the horizon.
Because of the Milky Way’s high inclination, depending on the time of night and year, the arc of Milky Way may appear relatively low or relatively high in the sky. For observers from approximately 65 degrees north to 65 degrees south on Earth’s surface, the Milky Way passes directly overhead twice a day.
Finding Dark Skies
In order to photograph the Milky Way you will have to have dark skies. The best time to find dark skies is during a new moon, this is when you cannot see the moon at all, next best is the 5-6 nights before and after the new moon. Even though the moon will be visible and casting light, it is not doing so all night, you will still have 2-10 hours of darkness.
Moon Phases
Moon Phases Calendar Click on the link to access an interactive calendar to find the phases of the moon for any date.
Dark Sky Finder
One of the biggest problems with seeing the Milky Way is light pollution and you will need to find somewhere with the least amount of light pollution, very simply the fewer people the less light pollution. A good source to find dark areas of the country is Dark Sky Finder
Wait for Dark
You will also need to wait until it is actually dark, once the sun goes down it is close to 2 hours before it is totally dark.

Clear Skies
Finally you will need to have a clear sky for the best results, a few clouds will still work and can actually add to the composition of an image. I use the “Clear Sky Chart” to help predict whether or not I will have clouds.
Finding the Milky Way
In the northern hemisphere the main part of the Milky Way is best viewed during the summer months in the southern sky. During the months of November, December, and January it is very difficult to view the Milky Way. The best time for viewing the most dense part of the Milky Way will vary with the time of the year.
| April-May | Pre dawn |
| June-August | Midnight |
| Mid August-September | Soon after sunset |
Stellarium Mobile
Stellarium Mobile is a free fully-featured planetarium for your phone. It shows a realistic night sky map in 3D, just like what you see with the naked eye, binoculars or a telescope. The sensor control will also enable you to identify what you see in the sky in just a few seconds, just by pointing the phone at it.
The key to using Stellarium to find the Milky Way is to go into the settings, advanced, and increase the Milky Way Brightness to around 6-7.
Equipment
DSLR or Mirror-less interchangeable lens camera with manual settings
You can create Milky Way photos with most digital cameras, and even cell phones, but to achieve a good quality photo suitable for making a print and hanging on the wall you need a higher resolution, low noise image. Generally a full frame sensor will give a better image, due to lower noise, but a newer crop frame camera will work very well.
Wide Angle Lens
This is actually one of the most important parts of capturing good Milky Way photos. There are two reasons why you need a wide angle lens. 1 the Milky Way is very large and you need a wide angle lens to capture as much of the sky and some foreground as possible. 2 a wide angle lens will let you take a longer exposure (this is covered under camera settings). My recommendation for a full frame camera is in the 14-24 mm range, and for a crop frame camera 10-18 mm range. Other lenses will still work, these recommendations are for optimum results.
Tripod
A good sturdy tripod is essential, exposures can be 30 seconds or longer.
Cable Release
A cable release is good to have but not essential, if you do not have one you can use the self time on the camera to avoid movement of the camera.
Red Headlamp
It’s dark out there, you will need light to see where you are walking, make adjustments to the camera and and find the cold beverage. A red headlamp will not cause you to loose your night vision and keeps your hands free. If you use a bright white light it will take 10-30 minutes for your night vision to return to full sensitivity.
Filters
No, you don’t need filters, in fact you actually want to remove any filters you may have on your lens. A polarizing filter can cost you two stops of light, this would mean that if you could shoot at an ISO of 3200 you would have to raise it to 12,800 for the same exposure. I have seen UV filters cause reflections and soften the pinpoints of the stars.
Focusing in the Dark
How do you focus in the dark?
The answer is quite simple, you don’t. It’s dark out there, your camera can’t see to focus and neither can you.
Pre Focus
You can pre-focus while there is still enough light to achieve focus, then turn off auto focus and use a small piece of gaffers tape to keep the lens from losing focus.
Hyper-focal Distance
Setting your lens to it’s hyper-focal distance is a good way of photographing the Milky Way. The hyperfocal distance is the closest distance at which a lens can be focused while keeping objects at infinity acceptably sharp. When the lens is focused at this distance, all objects at distances from half of the hyperfocal distance out to infinity will be acceptably sharp.
In order to calculate the hyperfocal distance for you lens and aperture you will need a chart or calculator. There are a lot of free apps and calculators online, one that I use is DOFMaster, which you can use to print charts for different focal length and camera combinations.
Use a light to Focus
If you are trying to get a foreground element in focus you can use a bright light source to give the needed light to achieve focus and then turn the light off for the final photo. It is important to keep in mind that with a very large aperture opening you will have a shallow depth of field, and you want to be sure that the stars are still sharp.
Camera Settings
Aperature
In order to capture as much light as possible we need to use the large lens opening, such as a 2.8 if possible, 3.5 to 4.0 will also work well with many cameras, but slower lenses will not capture enough light to work well.
Shutter Speed
Due to the rotation of the Earth we see the stars move overhead. To photograph the stars as points of light, rather than streaks or star trails we need to use a shutter speed fast enough to eliminate the trails.
The 500 rule for night sky photography is a guide to how long you can take an exposure and not have “perceptible” trails on the stars or the moon. Very simply this is using the number 500 and dividing by your working focal length of your lens, giving you the maximum time to keep your shutter open. There will still be slight trails, since there is still movement and it will show more on higher megapixel cameras. This is a starting guide only, you should do test shots at different exposure times to determine what is the longest exposure for your camera-lens setup, that will give you the results you are happy with.
ISO
ISO is the last setting that we want to work with and this is the one that is actually what we will use to control the exposure. This will require some trial and error, I will start at 800 and take a test shot, if it is too dark I will raise the ISO to 1600 and try again. The goal is to pick up the Milky Way, it does not need to look like what our finished image does, we will bring up the brightness in post processing.
RAW File Format
If you can you should shoot in the RAW file format, this allows greater control in the post processing of exposure, noise, and white balance.
Composition
Just capturing the Milky Way and the stars can be an expressive image, but to really get that great shot we need to add an interesting foreground element. This is where all the planning and preparation come into making the photo.
Post Processing
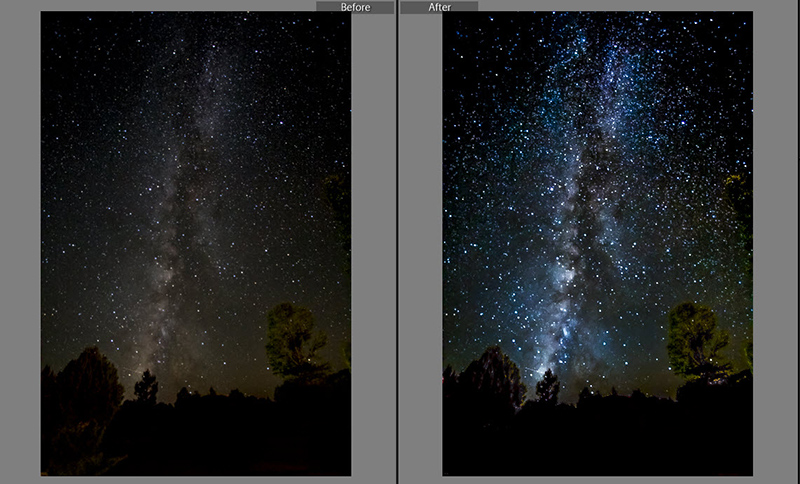
Post processing is necessary to bring out all the detail in the stars. I use and recommend Adobe Lightroom for most post processing. Each image needs to be evaluated and processed on it’s own, but I have found that most of my Milky Way shots need some of the same basic adjustments as listed below.
| White Balance | Adjust to where you are satisfied it looks the best. Chances are you will have picked some light pollution and have mixed sources of light, so there will not be a single correct white balance. |
| Blacks | Bring the “Blacks” slider down to decrease unwanted light areas in the image. |
| Whites | Bring the “Whites” slider up to bring up the detail in the Milky Way. |
| Clarity | Bring up the “Clarity” slider to increase the sharpness and brightness of the stars. |
| Saturation | Bring up the “Saturation” slider to bring out the colors of the stars. |
| Highlights | Bring up the “Highlights” to bring out the full brightness of the Milky Way. |
| Noise | Use both the “Luminance” and “Color” sliders in the Noise Reduction to eliminated unwanted noise in the image. |
These adjustments will help to bring out the full detail captured by the camera, be careful however not to over process your image. Since you are shooting a RAW file you must post process your image, if you shoot JPG, the camera is doing it for you.
