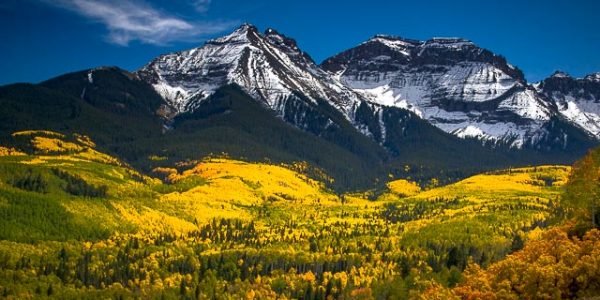
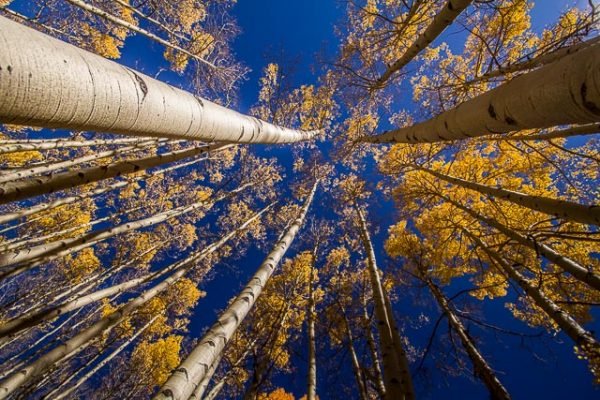
Many photographers, like myself, anticipate the coming of fall as one of those great times for photography. We have months to prepare for the fall color spectacular that we know is coming and only possibly a few days to shoot it. This article will help you to make the most of what time you do have to capture the fall color.
Why do leaves change color?
Chlorophyll which has a green pigment is present during the growing season giving leaves their green color. Also present are carotenoids, which have orange and yellow pigments which are in the leaf all year but are not visible due to the overpowering of the green from the chlorophyll. When the days get shorter (the primary trigger for fall) and the temperatures drop in proportion to the diminishing sunlight the chlorophyll levels drop, triggering a chemical reaction that stops the flow of sap. When the green pigments of the chlorophyll are gone the orange and yellow of the carotenoids show. The bright reds we see in leaves are caused by sugar or glucose which is produced on sunny warm days, and when left in the leaves turns red with cool fall nights. The darker browns are made from wastes left in the leaves or tannin.
Weeks of bright sunny days (not over 80) and chilly nights with no frost create the brightest colors. |
When will the color peak be?
Predicting exactly when the peak of color is going to happen is one of the great mysteries of nature, many sources can give you an approximate timeframe for an area based on historical averages. Of course we all want to know when the peak will happen so that we can arrange time off, travel to a great location and reserve lodging (because for some reason it becomes difficult to find rooms in many locations this time of year). Ok, here’s the answer, “it will peak after it starts and before it ends” and you can quote me on this. Seriously, my point is that there are many great times to shoot the fall colors, some trees will have lost all their leaves and be bare sticks by the time others are just stating to turn. To catch all the color you need to be out shooting for more than just a quick day or two, there are great shots all through the fall season.
Common fall tree colors: |
|
| Yellow | Ash, Basswood, Birch, Beech, Butternut, Elm, Hickory, Mountain Ash, Poplar, Redbud, Serviceberry, Willow, some Maples. |
| Red | some Oaks and Maples, Sumac, Tupelos |
| Orange | some Oaks and Maples |
| Red or Yellow | Sugar Maple, Dogwood, Sweet Gum, Black Gum, Sourwood |
How to Capture the Best Photos
Fall Color is Not all About Fall Color
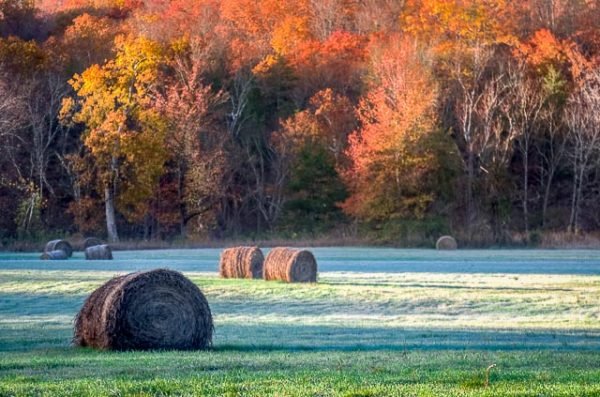
Concentrate on composition, don’t assume all that beautiful fall color is going to make a great shot without consideration for composition, and having a clearly defined subject in the photo. Use all of the tools of composition: rule of thirds, leading lines, focus, highlights, shadows, s-cures, framing, vanishing point, and many others. Don’t think that just because you have brilliant blazing color it will translate into a great photo. Move around shoot from every conceivable angle and position, use a variety of lenses, from wide angle to ultra telephoto. Take your time and visualize the image that you want in your mind, then make your camera give you that image. Check for distracting backgrounds and out of place items (no one wants to hang a beautiful photo of fall leaves, with an old beer can in the background, on their living room wall).
Move in Close
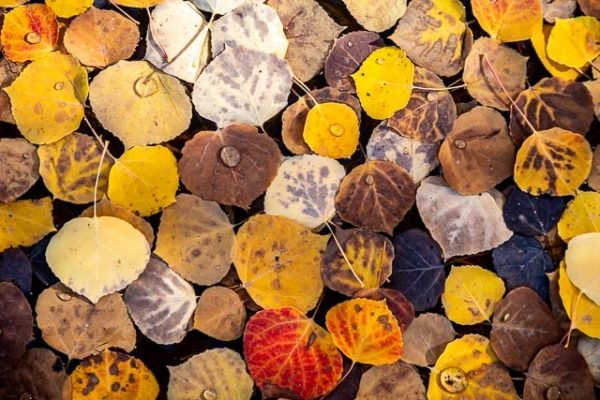
This is a great time to use that Macro or Close-up lens. Examine the fine details in single leaf. Look for natural still-life on the ground where leaves have haphazardly fallen to their resting place. Often as photographers we want to capture everything all in one frame. While there are fantastic fall landscape photos, too often we overlook the details and the smaller subjects of fall. A single leaf, bunch of berries or mushroom pushing up through the fallen leaves, can all make fantastic fall color shots. Use a large aperture to blur the background and focus on your main subject.
Look Down
When out in the woods don’t forget to look down and photograph leaves that have already fallen.
Lighting
Good photos require good lighting. To many landscape photographers the lighting is the most important part of the photo, even more so than the subject. How do you get that great light when shooting outdoors? First thing is to know what makes good lighting and the second is to be there. A beautiful sunny day with clear blue sky, a great day for a drive in the country and taking great fall color photos. Well half right, a great day for a drive in the country, a bad day for photos. The light will be very high contrast, which means the areas where the sun is shining is too bright and the shadows are too dark. We can see about 18 to 20 “stops” of light with our eyes, our cameras will only see about 12 to 14 “stops”. This is the type of lighting that we want to avoid, this does not mean you have to go home, just avoid this type of lighting. Find an area in full shade, move in close and shoot those macro shots. Leaves tend to be less reflective and much more vivid on overcast days.
Golden Hour or Magic Hour, this is one half hour after the sun rises and one half hour before the sun sets. This is the time of day that most great landscape photos are taken. There are several scientific explanations of why the lighting is so good for photography during this time, but I’m not going into that detail. Just believe me that this is a great time to shoot your landscape fall color photos.
Overcast days will provide better color saturation than a sunny day and a softer diffused light. This is great for capturing the color in fall leaves. Rain or mist can also really bring out the color in fall foliage just be sure to protect your camera and yourself and watch out for lightning. Another factor of photographing during or after a rain, is that the leaves are clean and free of dust which will hide the true color. The drawback of a full overcast day is that you can have a bright white sky, if this is the case the best thing to do, is to try and keep the sky out of the picture.
White Balance
Auto White Balance is going to try really hard to do it’s job and remove the strong red-orange or yellow color cast in your photos by the fall foliage. If you are shooting in RAW (and you should be) you can fine tune white balance in post processing. Setting the white balance to shade will help to retain the orange and yellow colors in the scene.
Add Water and Reflections
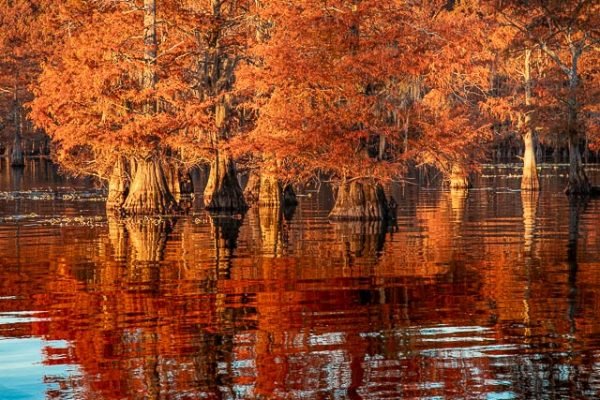
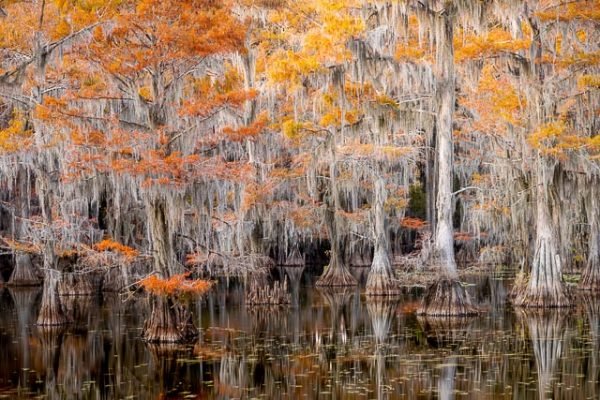
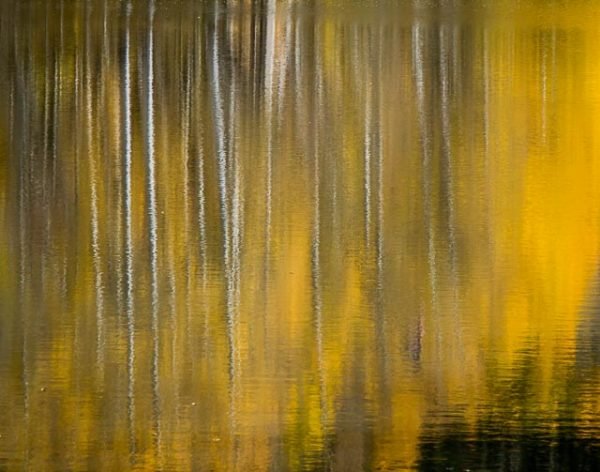
Getting lower to the water will often give a better reflection.
Include People
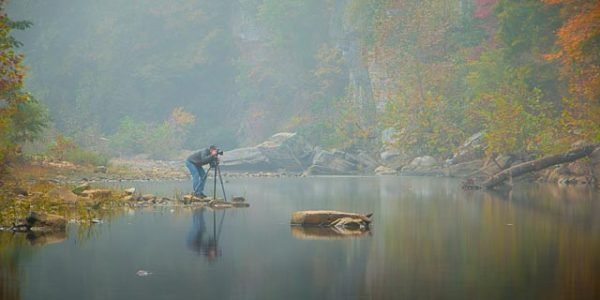
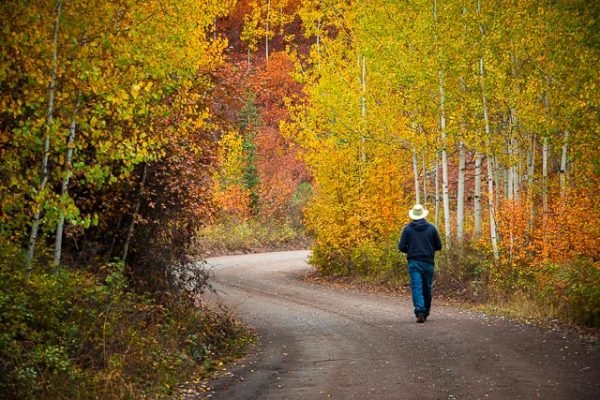
Including people into the scene can add interest to the photo as well as perspective.
